Connecting to Ollama
This tutorial will guide you step-by-step on how to connect to a local model from Ollama.
WARNING
Using Ollama with Everywhere is an advanced feature. It is recommended to configure and use it only after understanding how it works. Compatibility is not guaranteed.
Prerequisites
- Considering that local models are running, it is recommended to use a computer with good performance.
Steps
- Download and install the Ollama application from the Ollama official website.

- After installation, open the Ollama application and wait for it to initialize. Then, open a command-line tool (such as PowerShell or CMD) and enter the following command to verify if the Ollama CLI is available:
bash
ollama -v- If the command line outputs the version number of Ollama, the installation is successful. Otherwise, please refer to the Ollama official documentation. Next, you can choose and download a local model. Search for models supported by Ollama here. For example, to download the
gemma3:12bmodel:
bash
ollama pull gemma3:12b- After the download is complete, enter
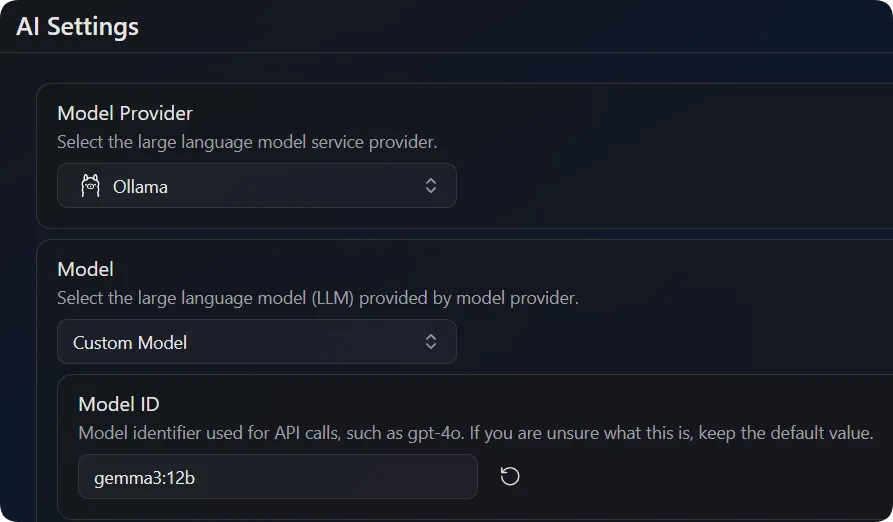
ollama listin the terminal to ensure that the downloaded model is in the results. - In Everywhere, set Model to
Custom Modeland expand the tab:- Set Model ID to
gemma3:12b(or the name of another model you downloaded).
- Set Model ID to
- Once the setup is complete, you can start using it.
FAQ
Chat message displays ModelDoesNotSupportTools
If you encounter a chat message displaying ModelDoesNotSupportTools when using an Ollama model, it usually means that the Ollama model you are using does not support the tool-calling feature. You can try switching to another model that supports tool calling, or disable the tool-calling feature in Everywhere to avoid this error.